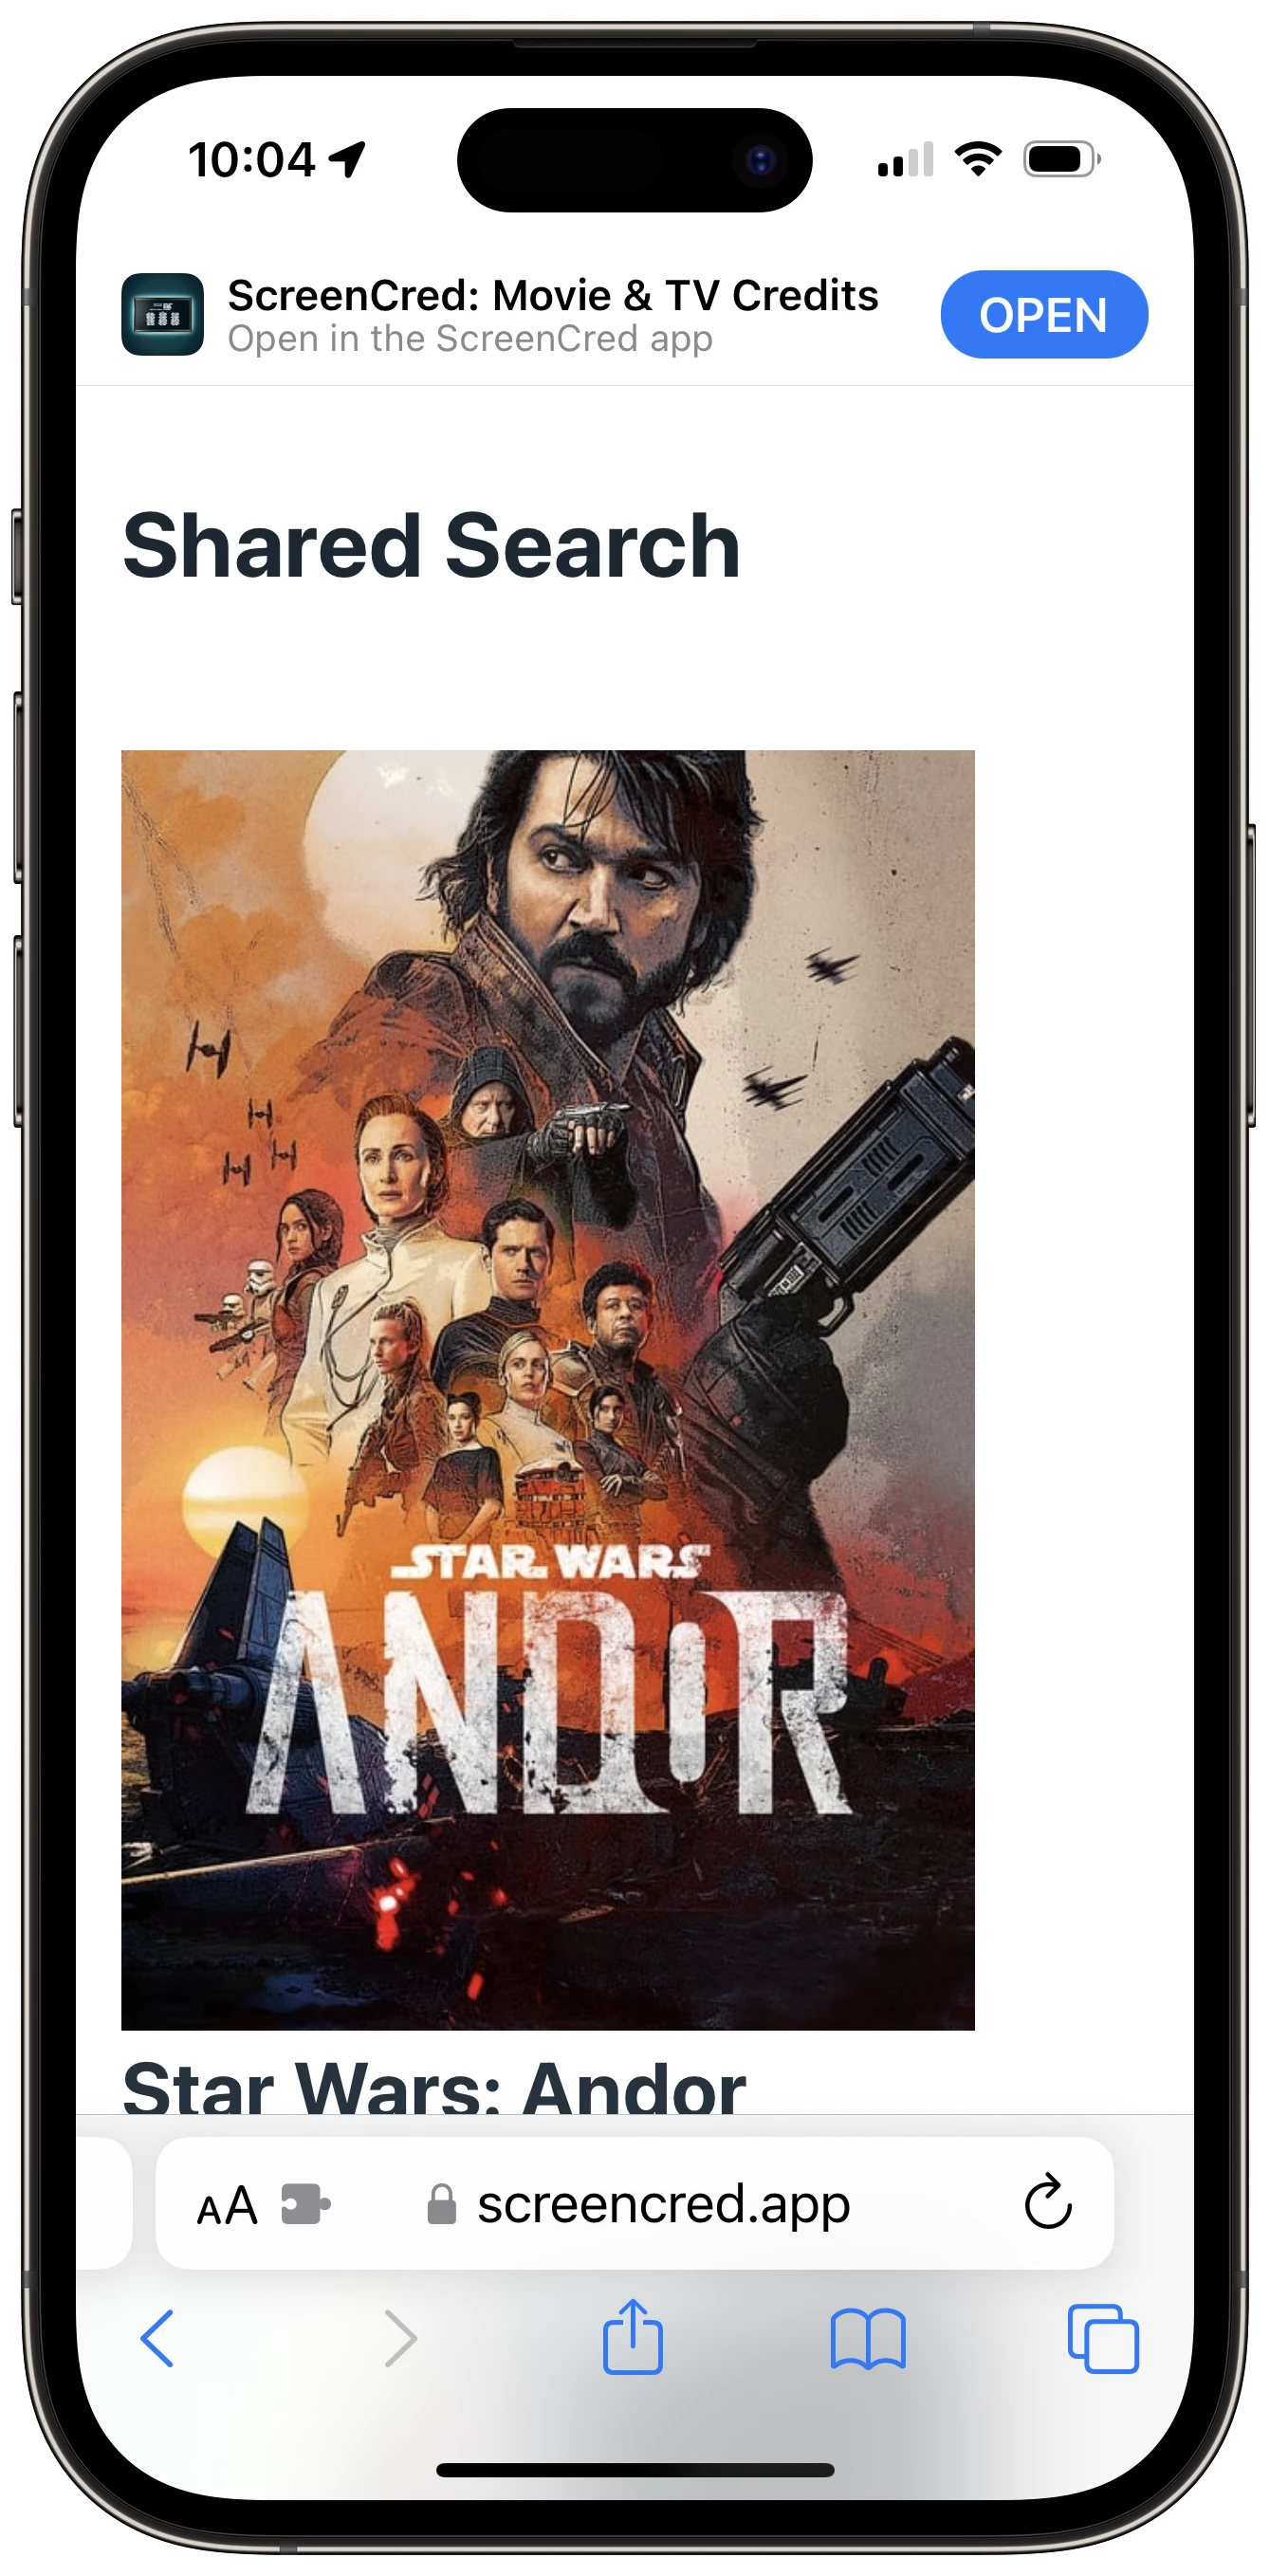
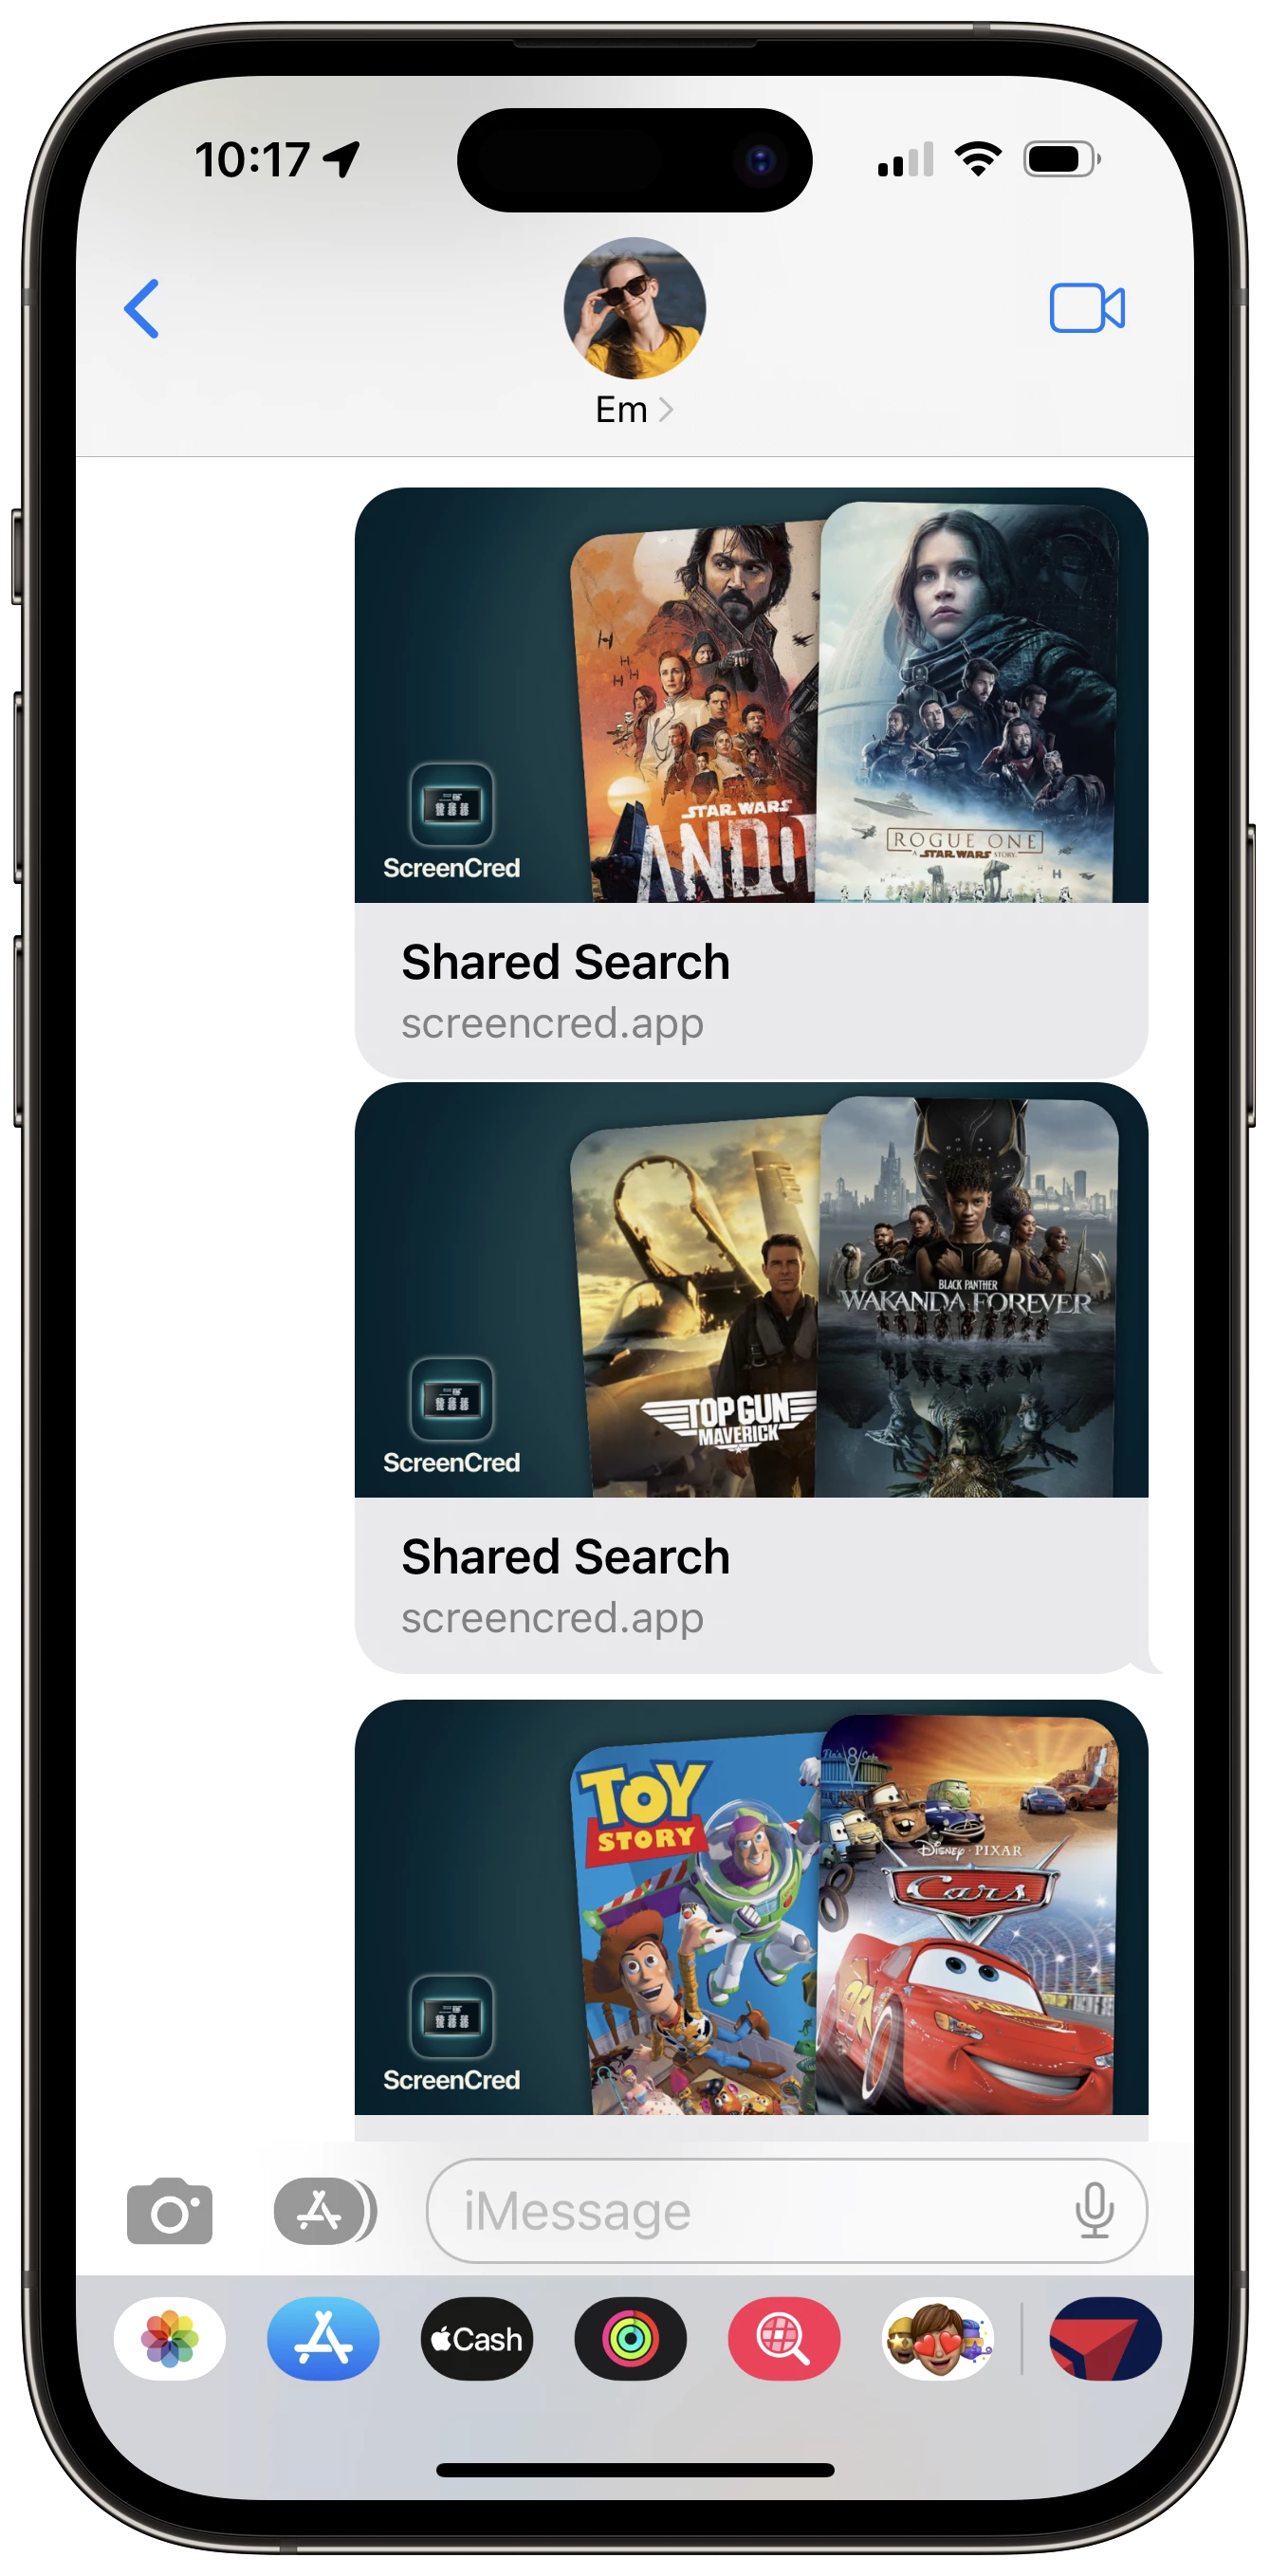
I went down the rabbit-hole. I got an idea in my head that I want my app to have a share feature. Send a link to a friend, and they can open it in the app and load the results automatically. I've never done anything like that, so seemed like a cool opportunity to try something new. It got a bit more involved than I originally thought...
Universal Links
The first step was associating my domain with the iOS app. I spun up a simple 11ty site and created ./well-known/apple-app-site-association. It's a JSON file that defines which urls your app responds to. Right now, I only want one:
{
  "applinks": {
    "details": [
      {
        "appIDs": [
          "TEAMID.app.bundle.id",
          "TEAMID.app.bundle.id.dev"
        ],
        "components": [
          {
            "/": "/search/?*",
            "comment": "Matches any URL with a path that starts with /search/someid."
          }
        ]
      }
    ]
  }
}
I technically have two apps—one for local development with .dev on the bundle id, and the other real one. So it's nice you can associate multiple bundle ids. What to put in this file is not well documented, and Apple does not have a tool to validate it. I did find this validator.
I eventually got all this working, but had quite a bit of trouble.
Universal Links Gotchas
- Make sure your JSON is formatted correctly 🤦🏻♂️
- Make sure the Content-Type is
application/json- I'm not 100% sure this is necessary, but the validator I was using called it out. I needed to add a config in my Netlify config to make this file have the correct content type since it does not have a file type.
- Apple caches
apple-app-site-association. So changes may not be immediate. Seems to update about once and hour? - To bypass the cache when developing, add
?mode=developerto your url under Associated Domains:applinks:example.com?mode=developer. - But, don't leave
?mode=developerin for TestFlight or AppStore versions.
This got me to the point that my universal links opened the app in the simulator! That was pretty exciting! To get them to work on an actual device, you need to open Settings > Developer and enabled Associated Domains Development under Universal Links. There's also a diagnostics that you put in your domain and it will tell you if you have an app installed that will open links from that domain. It works when the dev app is installed, but for some reason, not for TestFlight versions 🤷🏻♂️.
Opening the Link in the App
In SwiftUI, you just have to use .onOpenUrl. Since I'm only handling one url, the logic is simple. I check that the URL has a valid search request, and then set it up in the app. As part of this, I used a RegexBuilder! I didn't have to, but wanted to try it out. Pro tip, you need to import RegexBuilder.
import RegexBuilder
...
let regex = Regex {
    TryCapture {
        ChoiceOf {
            "m"
            "t"
        }
    } transform: {
        MediaType.fromSearchType(String($0))
    }
    Capture (
        OneOrMore(.digit)
    )
}
let matches = url.path().matches(of: regex)
guard matches.count == 2 else { return }
let (_, firstType, firstId) = matches[0].output
let (_, secondType, secondId) = matches[1].output
// Fetch data with this information
Generating Landing Page
Now, what if someone does not have the app installed? They should be taken to a somewhat helpful webpage. This part would be pretty simple if I had a server-rendered page, or even a single-page app. But I make things hard for myself and I don't have that. I have a statically generated 11ty site.
My search urls have the path /search/t123456m7890. That last part is the type and id of 2 movies or shows. That can be anything. I can't reasonably generate a webpage for each possible combination ahead of time. Enter Netlify On-Demand Builders.
11ty has support for this. So after several attempts, I was able to make a builder function that generates a page with different content based on the last part of that URL.
I got the page to generate, but I wasn't sure how to get the data dynamically. I'm not an 11ty expert, but the whole point is to have a data ahead of time. I don't have that. This article cleverly uses a async filter to fetch the data. So pretty much the same thing as the iOS app, I take the search param, validate, parse, and fetch the data. Using that data, I can display the poster images and names of the selected movies or shows.

Awesome! Safari will also show that button to open it in the app. That's pretty cool. But, when you share a link in messages, you just get a boring link. It needs some pizazz.
Generating og:image
iMessage uses the meta og:image to add an image to a link. So since these pages are dynamic, I need to also dynamically generate the og:image as well.
I mostly followed this guide on how to do exactly that with Netlify functions. It worked perfectly locally, but when I deployed to Netlify, I had a lot of issues. Basically it came down to using @sparticuz/chromium instead of chrome-aws-lambda. It's beyond me what the differences are, but came across the solution on the Netlify support forums.
Aside from those issues, it's fairly simple. Create and HTML file with some CSS. I did have to change the page.setContent to waitUntil: "networkidle0" instead of "domcontentloaded". I'm sure that makes it run longer, but the poster images wouldn't load otherwise.
So I'm currently using:
"@sparticuz/chromium": "^107.0.0",
"puppeteer-core": "^19.1.1"
And that works for now...
It's a bit slow, but IMO, worth the wait:

I still have some wrinkles to iron out. I guess the pages don't always generate quickly enough or something because when you open the share sheet, you don't always see the og:image...but sometimes you do...so I'm not sure. I'll see what I can do.
I guess at this point it's a little hard to hide the fact that the name of the App is ScreenCred.
Anyway, that was my adventure of the past couple of days. Was pretty fun and I hope it all keeps working!